65°F
target soil temperature near transplant time


Plant Anaheim pepper variety after frost when soil is near 65 F, spacing plants 18-24 inches apart in full sun. Start seeds indoors 8-10 weeks before transplanting, harden seedlings off, and keep the first week evenly moist rather than soggy.
Anaheim peppers should go into the garden after the last frost date, when nights stay mild and the root zone has warmed. One sunny afternoon is not enough; use the recent nighttime pattern and soil temperature to choose the transplant day.
Cold soil slows root growth, so a mild New Mexico-type pepper can sit still when it moves outside too early. Count backward from the stable outdoor window, then complete a separate hardening off pepper plants before planting.
Choose a stocky seedling with several true leaves, a firm stem, and roots that hold the plug together. A tall plant already flowering in a small cell has spent energy above ground while its roots remained confined. The shorter, balanced seedling usually establishes more cleanly.
Check the forecast for wind as well as temperature. A warm but gusty transplant day can dry leaves faster than a small root ball can replace water. Plant during a calmer part of the day, water the plug before it enters the hole, and install support while the root zone is still easy to avoid.
Space Anaheim pepper plants 18-24 inches apart in rows or raised beds. That spacing gives the plant enough air around the lower leaves while still keeping the canopy close enough to shade soil in hot weather.
Plant each seedling at the same depth it grew in its pot. Tomatoes can root along buried stems, but peppers do not reward deep planting the same way. If the stem is leggy, bury only a small amount and support the plant instead of covering several inches of stem.
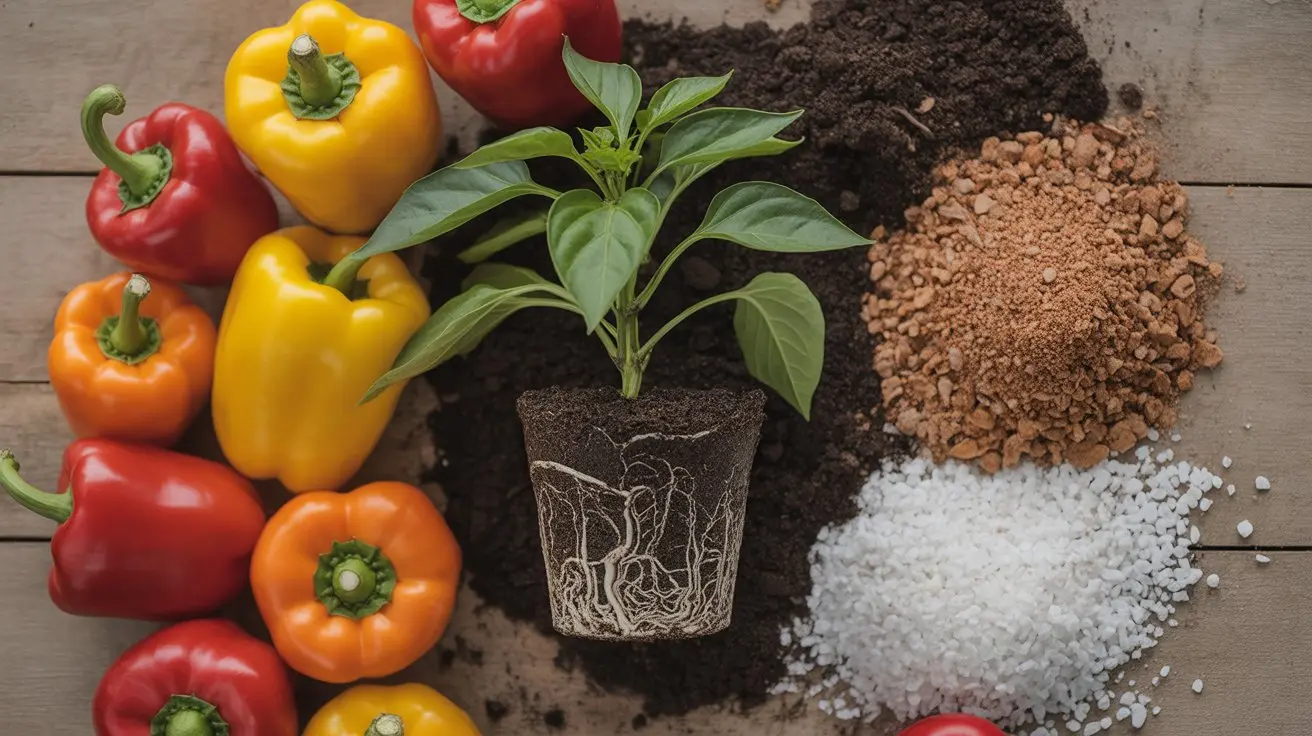
Use loose, well-drained soil with compost mixed into the planting zone. Anaheim peppers dislike wet feet, but they also struggle in dry, sandy beds without organic matter. If your garden has heavy clay, plant into a raised row or raised bed and water slowly so the root ball and surrounding soil settle together.
Anaheim has more branch weight than many compact snack peppers, so row layout matters. If you are planting several varieties, keep the taller Anaheim row where it will not shade sweet bell peppers seedlings or shorter patio plants.
For a mixed bed, use a pepper plant spacing plan before you dig holes. Put Anaheims with other upright New Mexico-type plants, then keep sprawling or container-grown varieties on the bed edge where harvest access stays open.
| Planting decision | Useful starting point | Reason to adjust |
|---|---|---|
| Between plants | 18-24 inches | Use the wider end in humid gardens or where mature branches need harvest access. |
| Stem depth | Match the nursery pot level | Support a leggy stem instead of burying several extra inches. |
| Bed position | Loose soil that drains after watering | Raise the row when clay holds water around the root ball. |
| Early support | Stake, small cage, or weave at planting | Add it immediately in windy sites or where long pods may pull branches down. |
After backfilling, press the soil only enough to remove large air pockets. Hard tamping creates a dense ring around the plug, while loose fill can leave roots without contact. A slow watering should settle the surrounding soil without exposing the top of the root ball.
Start seed in a warm tray, then move seedlings into brighter light as soon as they emerge. A heat mat can help germination, but weak light after sprouting creates stretched stems that are harder to plant cleanly.
If you are building the schedule from scratch, start with growing peppers from seed and then narrow the dates for Anaheim. This prevents the common mistake of sowing early, running out of indoor light, and planting a tired seedling outside.
Use the same calendar logic as a general pepper-growing calendar guide: count backward from your outdoor transplant window, not from the first warm afternoon. Anaheim seedlings are ready when they have a firm stem, several true leaves, and roots that hold the plug together without circling hard.
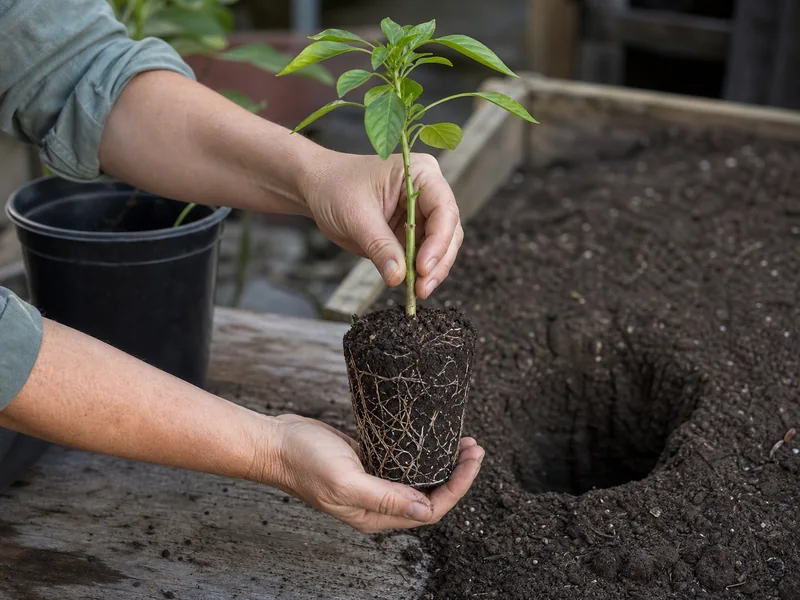
If a seedling is root-bound, loosen the outer roots gently and water it well before planting. Do not tear the root ball apart. The goal is contact with the new soil, not transplant shock.
The actual pepper seedling transplanting move should be boring: moist plug, prepared hole, firm backfill, and no tugging on the stem. Anaheim roots recover faster when the plug stays intact.
Direct sowing can work where spring soil warms early and the frost-free season remains long, but it gives the plant less time to mature long pods. In cooler regions, an indoor start protects the early weeks from cold soil and lets the seedling reach transplant size before the outdoor bed is ready.
Do not compensate by starting extremely early in a tiny cell. A seedling held too long under weak light becomes tall, root-bound, or prematurely flowering. If the outdoor window is still several weeks away, move the plant into a larger pot and keep strong light over the canopy instead of letting roots circle tightly.
Nursery plants offer the same time advantage, but inspect them before purchase. Check leaf undersides for pests, look for roots filling rather than strangling the plug, and avoid plants with wilted tips or a stem damaged near the soil line. Keep a new plant separate from indoor seedlings until that inspection is complete.
The transplant route also makes variety labels easier to preserve. Mark each pot before hardening off so Anaheim seedlings do not become mixed with hotter New Mexico types that have similar leaves. That matters later when green pods look alike but carry different heat and harvest expectations.
Water the hole before planting, set the seedling, then water again after backfilling. That two-step watering pattern closes air gaps around the roots without turning the whole bed into mud.
For the first week, keep the root zone evenly moist. The pepper watering guide uses a practical rule: water deeply, then let the top inch of soil start to dry before watering again. Daily light sprinkles make shallow roots and hotter surface soil.
Use mulch after the soil is warm, not before. A thin layer of straw, shredded leaves, or compost helps hold moisture around Anaheim roots. In a cool spring, wait until the bed has warmed before covering the soil.
During the first several waterings, check both the original plug and the surrounding bed. A peat-heavy nursery plug can dry while nearby garden soil still feels damp, while a dense plug can remain wet after the bed surface dries. Apply water slowly across both zones until roots begin moving outward, then lengthen the interval as the plant holds morning posture and produces new leaves.
Wind protection can matter as much as extra water during this period. A temporary screen, nearby stake, or loose tie reduces stem movement while new roots anchor the plant. Remove or loosen anything that rubs the stem as growth resumes.
If the plant wilts in afternoon sun but recovers by evening, it is usually heat load. If it wilts in the morning, inspect the root zone for dry pockets, soggy soil, or cutworm damage.
Check the underside of lower leaves during that first week. Early pepper pests and diseases problems are easier to correct before the plant starts flowering and hiding damage inside the canopy.
Anaheim peppers need full sun, which usually means 6-8 hours of direct light. In very hot desert or inland gardens, afternoon shade cloth can reduce leaf stress without turning the plant into a weak, stretched seedling.
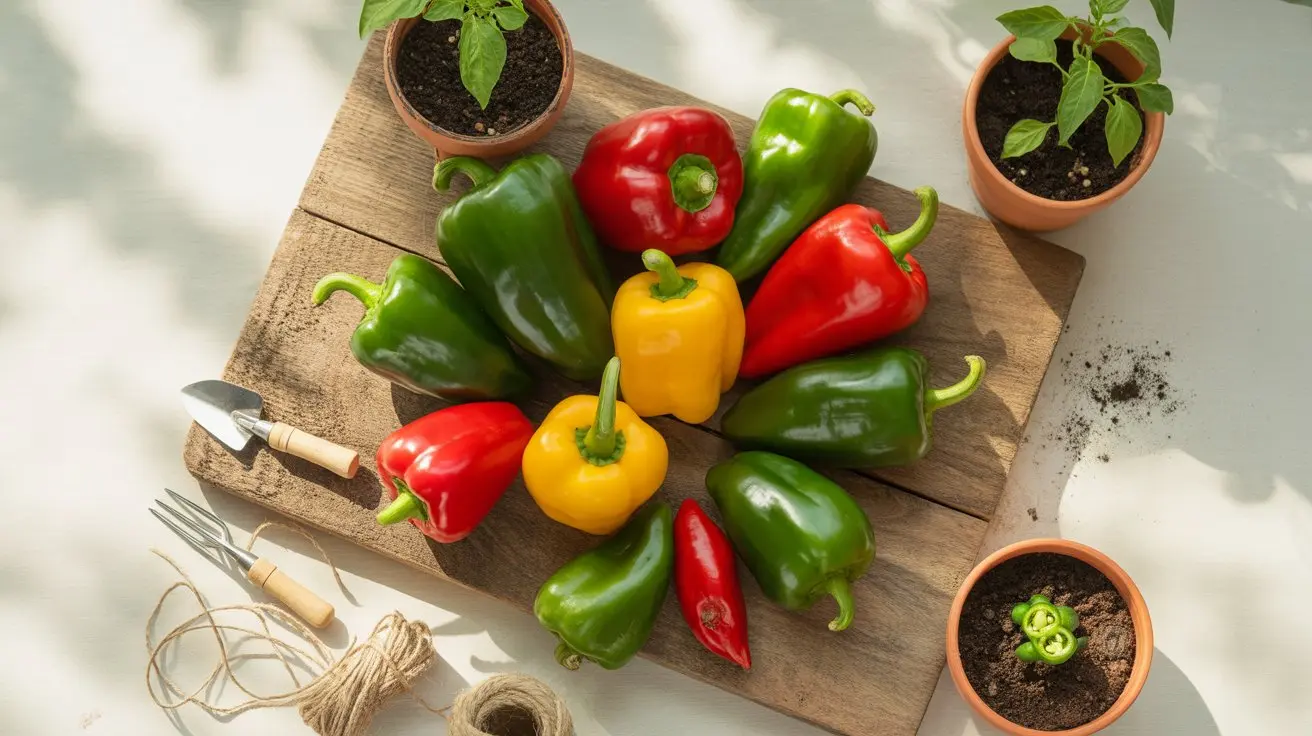
Add support early if your site gets wind. Anaheim plants can reach 24-36 inches and the long pods pull branch tips down. A small cage, bamboo stake, or Florida weave works better when installed at planting than after the roots have spread.
Orient a row so routine harvest does not require stepping across the root zone. Long green pods can hide inside the canopy, and repeated reaching through neighboring plants breaks branches more easily than a clear side path. In a mixed bed, place shorter peppers where the mature Anaheim canopy will not take their strongest light.
Do not overfeed at transplanting. A balanced starter fertilizer or compost-amended bed is enough. Too much nitrogen early can push leaves at the expense of flowers, especially if the plant is already in rich soil.
Once the plant starts new growth, shift from transplant care to steady nutrition. A light pepper plant fertilizer schedule is better than one heavy feeding that pushes soft foliage before the root system catches up.
Use at least a 5-gallon container for one Anaheim plant, and choose a pot with several drainage holes. A 7-10 gallon container gives the root system more buffer during hot weather and reduces daily watering pressure.
Container Anaheims need the same transplant depth as garden plants. Fill with potting mix, water thoroughly, and place the pot where the plant gets morning and midday sun. If the container dries out by afternoon every day, the pot is too small or the site is too exposed.
For patios, pair Anaheim with other mild cooking peppers only if the container is large enough. A single mild Anaheim peppers plant will usually outperform two crowded plants in one undersized pot.
If your only option is a patio, follow the root-volume guidance for growing peppers in containers: larger pot, stable moisture, and early support beat extra fertilizer.
Set the container on feet or another surface that leaves drainage holes open. A saucer that stays full after watering keeps the lower root zone wet, while a dark pot on hot pavement can heat and dry the same root ball quickly. Move the pot before a heat wave rather than trying to correct daily stress with extra fertilizer.
Recheck the stake as the plant begins extending branches. Container roots cannot resist wind as well as a plant anchored across a garden bed, so a loose tie should support the main stem without pinching it. Turn the pot only when needed for balanced light; constant rotation makes it harder to notice which side is reacting to sun or wind.
Two weeks after planting, use the newest leaves and morning posture to judge recovery. A brief pause is normal, but the plant should begin holding color and adding growth as roots enter the surrounding soil.
Once the plant is branching and holding itself upright, transplant recovery is largely complete. The work then shifts to steady moisture, light feeding, branch support, and choosing whether to harvest green pods or let them ripen red.
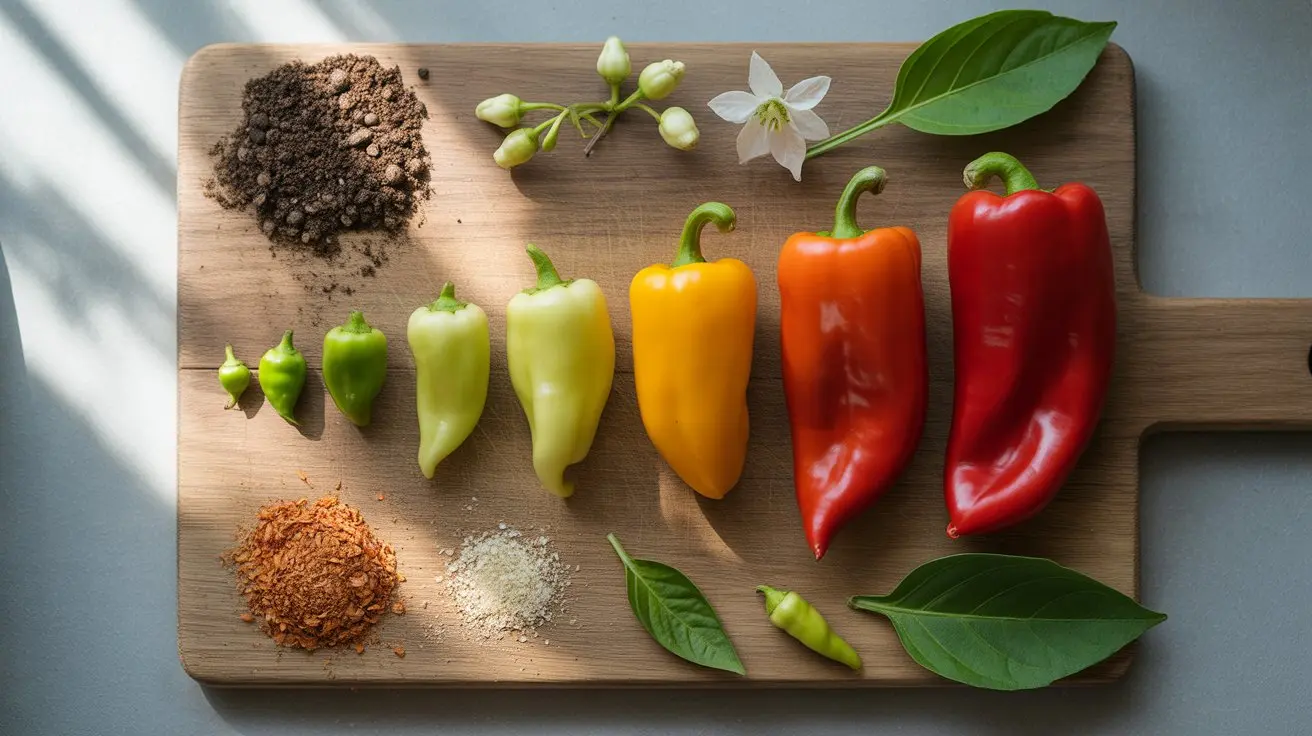
The first usable pods are usually green and mild. Leave some on the plant to ripen red if you want sweeter flavor for roasting or dried Mexican chiles style sauces.
If your goal is stuffed chile relleno-style cooking, compare the plant habit with the poblano pepper variety rows. Poblanos usually need similar transplant care, but Anaheim pods are longer and narrower, so branch support and harvest timing feel different.