
Pepperoncini Planting: Timing for a Short Season
Pepperoncini planting works best when you treat them as a quick, mild pepper crop, not a long-season superhot. Start seeds indoors 8-10 weeks before transplanting, move plants out after nights hold above 55°F, space them 18-24 inches apart, and keep water steady through the first fruit set.
Pepperoncini planting starts with warm roots, roomy spacing, and a shorter harvest target than most hot peppers. These mild pepperoncini peppers profile can fit a short season if you start them early indoors and transplant after cold nights pass.
The first decision is timing. Do not rush them into cold soil, but do not treat them like slow superhots either. In our beds, pepperoncini earn their space because they set useful green pods before many hotter varieties have settled in.
When should you plant pepperoncini?
Start pepperoncini seeds indoors 8-10 weeks before your last spring frost. That gives the plant enough time to build roots and a few true leaves before the outdoor bed is ready.
USU Extension recommends warm, steady seed-starting conditions for vegetable transplants. Pepper seeds do not need light to germinate, but the seed mix must stay warm enough that the seed does not sit wet for too long.
Transplant outdoors only after nights stay above about 55°F. Pepperoncini handle a mild season well, but cold soil still slows root growth and can leave the plant stuck for weeks.
| Planting stage | Best timing | What to watch |
|---|---|---|
| Seed sowing | 8-10 weeks before last frost | Warm mix, bright light after sprouting |
| Hardening off | 7-10 days before transplant | Wind, sun, and cool nights in small doses |
| Outdoor transplant | After nights hold above 55°F | Soil warmth and no frost risk |
| First harvest | Usually green and full-sized | Firm pods before they soften or blush |
Why pepperoncini are easier in short seasons
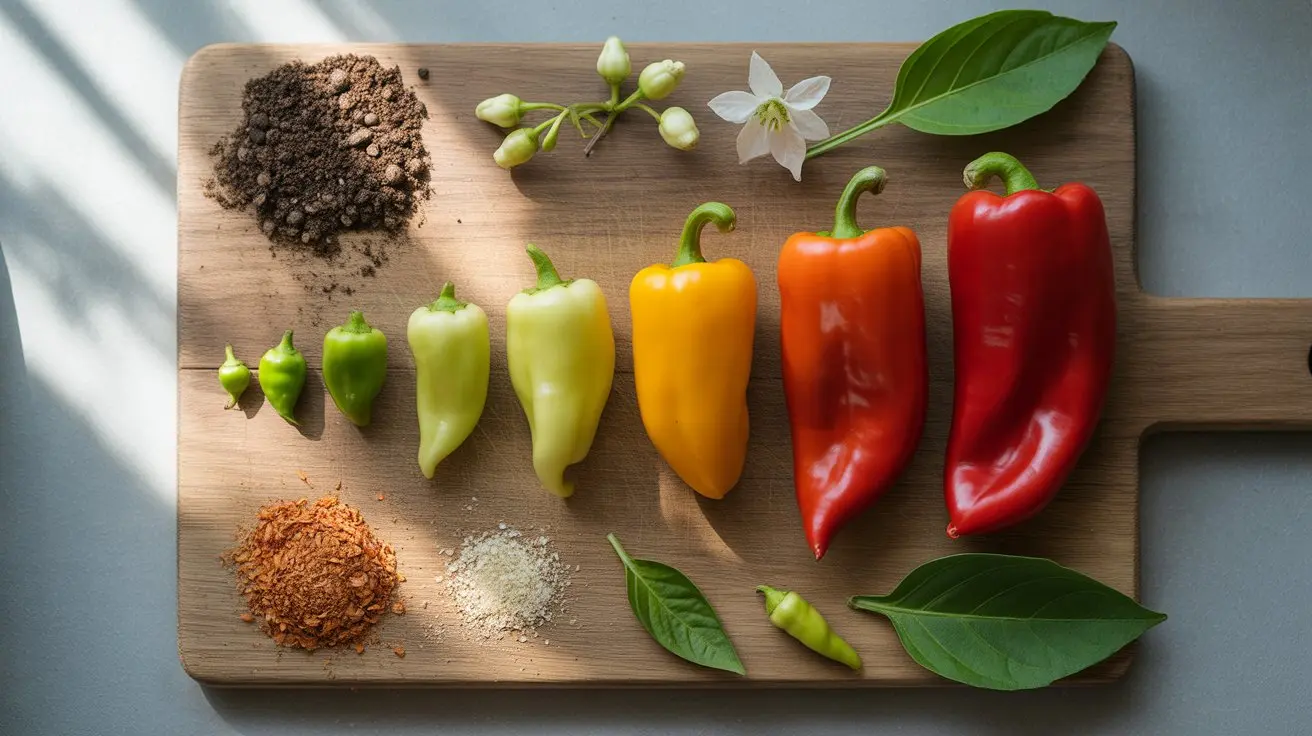
The short-season advantage comes from the harvest goal. You do not need to wait for deep red color or maximum heat. Most cooks pick pepperoncini green or pale yellow-green, while the walls are still crisp.
That changes the planting plan. A pepper planting date that feels a bit late for habaneros can still give you a solid pepperoncini harvest if the transplants are stocky.
Keep the early weeks boring on purpose. Warm soil, even moisture, and no root disturbance matter more than heavy feeding. If the plant stalls after transplant, compare it with our pepper growth stall checklist before adding fertilizer.
- Use a seedling with 5-7 true leaves, not a tall leggy stem.
- Wait until the root ball holds together but does not circle the pot.
- Move plants outside gradually so wind does not shred tender leaves.
- Plant on a cloudy day or late afternoon when possible.
How far apart should pepperoncini plants be?
Give pepperoncini 18-24 inches between plants in a bed. The lower end works for compact plants in rich soil. The wider end works better where summers are humid or where you want easy picking access.
Spacing is not only about final size. It also controls how fast leaves dry after rain. That matters because crowded pepper foliage hides aphids, leaf spots, and broken stems.
If you already use our pepper plant spacing numbers for bell peppers, you can place pepperoncini a little tighter. They usually carry smaller pods and a lighter branch load.
| Planting spot | Spacing | Best use |
|---|---|---|
| Raised bed | 18-24 inches apart | Best balance of yield and airflow |
| In-ground row | 24 inches apart, rows 30 inches apart | Easier harvest and weeding |
| Container | One plant in a 5-gallon pot | Patio growing and movable warmth |
| Mixed pepper bed | Keep taller peppers on the north side | Stops shade from stealing growth |
Bed prep that helps roots settle fast
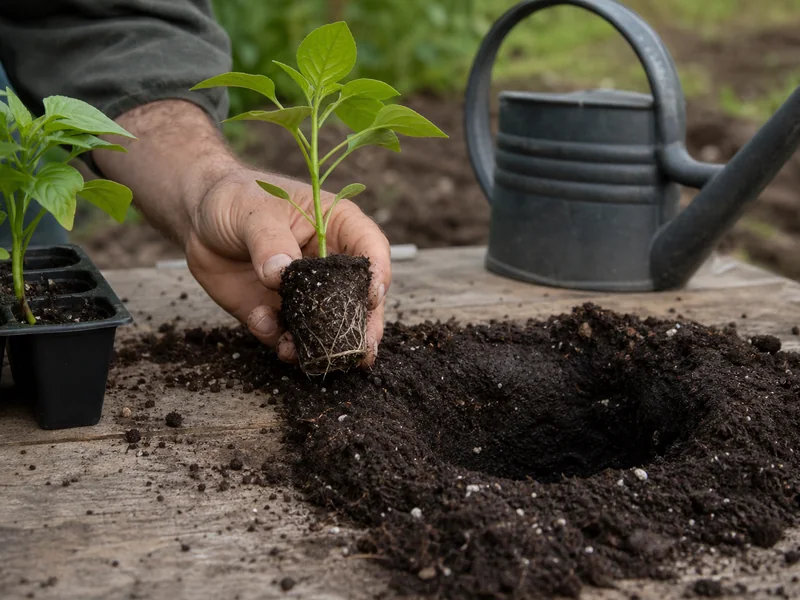
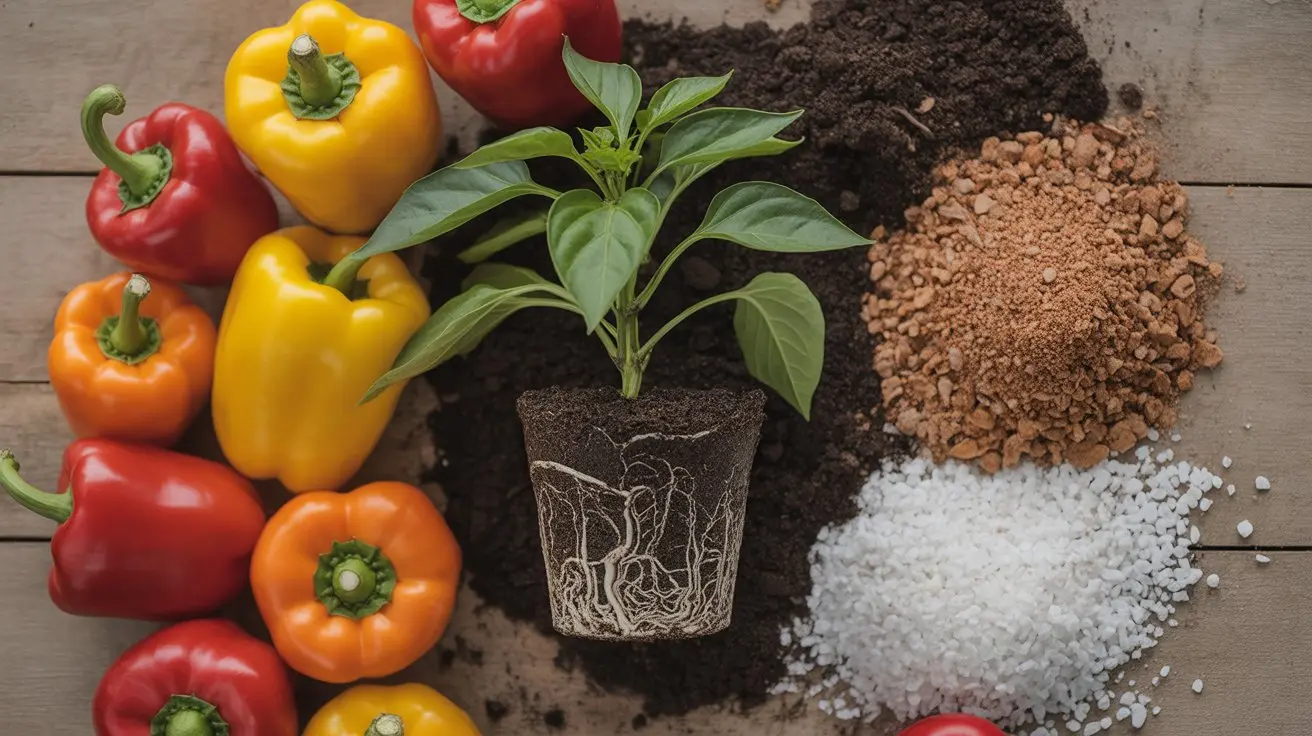
Pepperoncini want loose, fertile soil that drains after watering. Mix finished compost into the top few inches, then water the hole before the transplant goes in.
Do not bury the stem deeply like a tomato. Set the plant at the same depth it grew in the cell or pot. A pepper stem can rot if wet soil sits against it for too long.
After planting, press the soil gently around the root ball and water once at the base. The goal is root contact, not mud. If the bed stays wet for days, our overwatering pepper plant signs are the first thing to check.
Do pepperoncini grow better in pots or beds?
Beds give pepperoncini steadier moisture and cooler roots during hot spells. Containers give you control when spring nights are still cool because you can move the pot near a wall or out of cold wind.
Use at least a 5-gallon container with drainage holes if you grow one plant in a pot. Smaller pots dry too fast, and that can bend flowers or pods during the first heavy set.
A container plant also needs a lighter feeding rhythm. Frequent watering leaches nutrients, so a slow, steady approach works better than one big feeding push. Our container pepper plan covers that routine in more depth.
- Fill the pot with fresh potting mix, not dense garden soil.
- Water before planting so the dry mix does not pull moisture from the root ball.
- Set the transplant level with the mix surface.
- Add a small stake early, before roots fill the pot.
- Mulch the surface once the plant starts growing again.
Early care after planting
The first two weeks decide whether pepperoncini race ahead or sulk. Keep the soil evenly damp, shield plants from hard wind, and wait for new leaves before you judge the transplant.
Flowers that appear too early can stay if the plant is stocky and growing. If the plant is small or recently stressed, pinch the first few flowers and let the roots catch up.
Use companion plants lightly. A few herbs or flowers at the edge can help the bed, but pepperoncini should not be buried inside basil or marigolds. Our pepper companion plant guide is most useful when you treat each neighbor as a job, not decoration.
Harvest timing for crisp pepperoncini
Pick pepperoncini when the pods reach usable size and feel firm. Many are harvested green or pale yellow-green for pickling, sandwiches, and salads.
If you leave pods on the plant longer, they may turn warmer in color and soften. That can be fine for sauce or fresh use, but the crisp pickle texture is usually better before the pod fully matures.
Harvest with scissors instead of pulling. Pepperoncini stems can tear, and a torn branch costs more yield than one early pod is worth.
Keep watching for pests during harvest. Tender new growth can still draw aphids, and UC IPM notes that aphids often hide on leaf undersides. If you see sticky leaves or curled tips, use the pepper pest diagnosis path before spraying anything.
Short-season schedule for pepperoncini
A short-season grower should think backward from the first useful green pods. Pepperoncini do not need full red maturity for most kitchen uses, so the schedule can be tighter than a superhot plan.
Count back from your usual warm outdoor date. If your last frost is in mid-May, sowing in early to mid-March usually gives you a transplant with enough roots and leaves without leaving it root-bound indoors.
Do not chase a giant transplant. A smaller, sturdy plant with active roots usually beats a tall plant that sat too long in a tiny cell. The tall one looks better on planting day, then stalls when the crowded roots struggle in the bed.
| Season type | Best pepperoncini move | Why it works |
|---|---|---|
| Cool short season | Start indoors early and use black mulch or a warm raised bed | Roots start faster without waiting for midsummer soil |
| Warm long season | Transplant after nights settle and succession-pick green pods | The plant has time to keep setting after early harvests |
| Patio season | Use a 5-gallon pot that can move out of cold wind | The pot gives you control during spring swings |
| Late start | Buy stocky transplants instead of sowing late seed | Saved weeks matter more than variety choice |
Common planting mistakes with pepperoncini
The most common mistake is planting into cold soil because pepperoncini feel like an easy crop. They are easier than many hot peppers, but they still come from the same warm-season family.
The second mistake is crowding them beside taller peppers. If jalapeños, poblanos, or tomatoes shade the row, pepperoncini keep leaves but set fewer firm pods.
The third mistake is letting containers dry hard, then flooding them. That swing can lead to dropped flowers and misshapen early pods. A finger test and pot-weight check work better than watering by calendar.
- Plant too cold and the roots pause before the top shows the problem.
- Plant too deep and wet soil can sit against the stem.
- Plant too close and lower leaves stay damp after rain.
- Feed too hard early and the plant may grow leaves before pods.
How pepperoncini differ from banana peppers at planting
Pepperoncini and banana peppers can look close in the nursery, but the planting goal is not identical. Banana peppers are often grown for longer, thicker pods, while pepperoncini are usually picked earlier for tender green rings.
That means pepperoncini reward frequent picking more than waiting for size. Once the plant starts producing, remove full-sized pods before they soften. The plant then keeps pushing smaller new fruit instead of spending energy on older pods.
If you grow both, use separate stakes or tags at transplant time. The plants can look similar before harvest, and a clear tag prevents mixing the crisp pepperoncini row with the sweeter banana pepper row.
For a narrow bed, plant pepperoncini where you can reach both sides without stepping into the soil. Frequent picking keeps the plant productive, so access matters almost as much as spacing.