
Green Enchilada Sauce
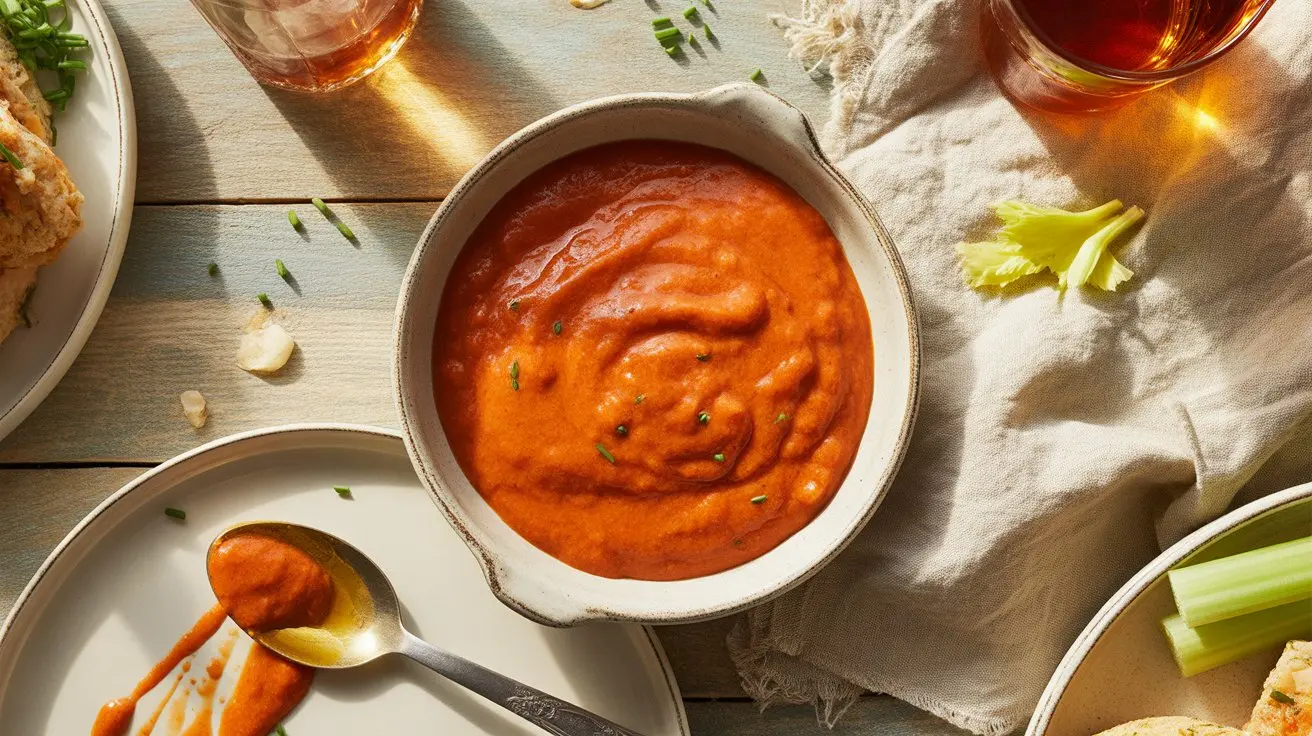
Green enchilada sauce is a warm tomatillo and roasted green chile sauce made to coat filled tortillas in a baking pan. Stock and a short simmer make it smoother and softer than salsa verde.
Green enchilada sauce should coat tortillas and stay gentle after baking. We roast tomatillos with green chile, onion, and garlic, then blend with stock and simmer until the sauce pours like light cream.
The goal is not a cold table salsa. The oven will dull sharp acid, pull salt into the filling, and thicken the sauce around the tortilla edges.
Start With Tomatillos
Tomatillos give green enchilada sauce its tart body. Roast them until they slump and release juice, then save the pan liquid for the blender.
Under-roasted tomatillos taste grassy and make a watery sauce. Over-roasted tomatillos taste flat and can turn the sauce muddy.
Use about 1 pound of tomatillos for a 3-cup batch. That amount gives enough sauce for a standard pan without drowning the tortillas.
Choose The Green Chile
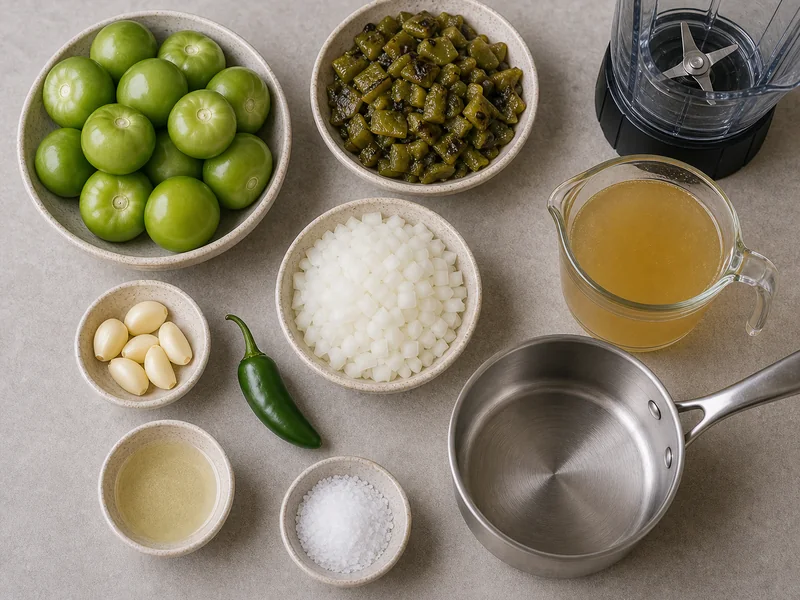
Roasted Hatch chile gives the clearest green-chile flavor. It tastes fuller than raw green chile because the roast loosens the skin and softens the flesh.
Anaheim peppers profile make the mildest version. Poblanos profile give a deeper roasted taste and darker color, but they can make the sauce taste less bright.
Add serrano heat only when the filling can handle it. Chicken, beans, and cheese absorb heat differently, so the sauce should taste a little brighter before it goes into the oven.
Blend Softer Than Salsa
A table salsa can stay chunky because chips do the scooping. Enchilada sauce needs a smoother blend so it slips between tortillas and filling.
Blend the roasted vegetables with stock in stages. Start with half the stock, then add more only if the blender stalls or the sauce lands too thick.
If you want a chunkier tomatillo result, make jalapeno salsa verde or molcajete salsa verde. Those pages serve a different job at the table.
Simmer In Oil
Warm a tablespoon of neutral oil before the puree goes into the pot. The short fry takes the raw edge off the onion, garlic, and tomatillo skin.
Simmer 15 to 20 minutes. The sauce should bubble softly, darken a shade, and hold a line on a spoon for one second before it runs back together.
Do not boil it hard. A rolling boil can split the puree and throw tomatillo foam around the pot.
Set The Pan Texture
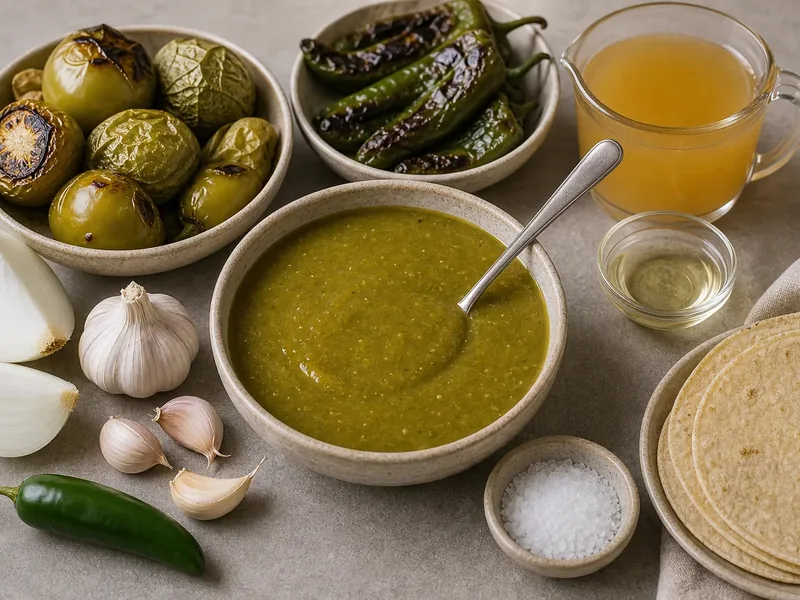
Before you fill the tortillas, spoon a little sauce across the bottom of the baking dish. The first layer protects the tortillas from sticking and gives the bottom edges flavor.
Dip or brush each tortilla only long enough to soften it. If the tortilla soaks too long, it tears before the filling goes in.
After filling, cover the top with enough sauce to touch every tortilla seam. Bare spots dry out in the oven, while a flooded pan turns soft.
Stock Changes The Bake
Stock turns roasted tomatillo puree into enchilada sauce. Water makes the sauce taste sharper, while chicken or vegetable stock gives it enough roundness to survive the oven.
Add stock slowly because tomatillos release different amounts of juice. A dry roast needs more stock. A very juicy pan may need only enough stock to help the blender run.
The spoon test matters more than a fixed cup amount. The sauce should pour, but it should not run like broth.
Warm Tortillas First
Cold tortillas crack as soon as you roll them. Warm corn tortillas on a skillet, steam them in a towel, or brush them with warm sauce before filling.
That step protects the sauce too. If the tortilla breaks, filling spills into the pan and thickens the sauce in clumps instead of letting it coat the top evenly.
Flour tortillas need less sauce than corn tortillas because they soften faster. Corn tortillas need more sauce on the seams and edges.
Red Sauce Difference
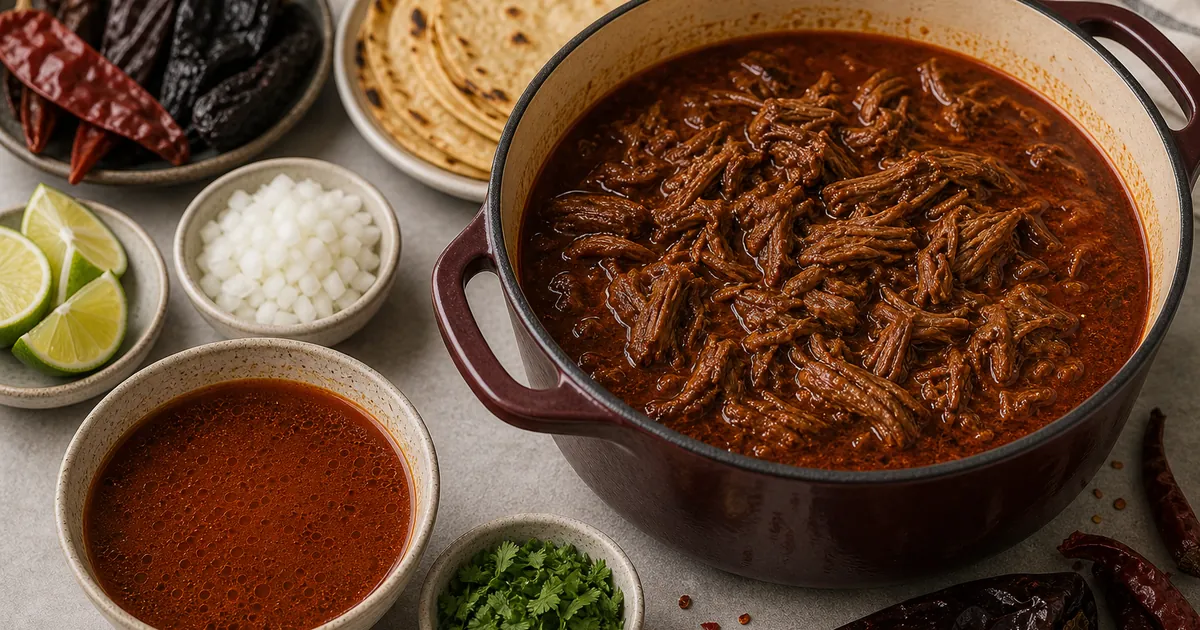
Green enchilada sauce gets its body from tomatillo and roasted green chile. Red enchilada sauce gets its body from dried red chiles, oil, and a longer cooked flavor.
That difference changes the filling. Green sauce works well with chicken, mild cheese, beans, potatoes, and roasted vegetables. Red sauce handles beef, shredded pork, and darker dried-chile fillings better.
Do not swap the two only by color. Choose by the filling and by how much tartness the finished pan needs.
Label frozen chile before it goes into the freezer. Mild, medium, and hot green chile look almost the same once chopped, and the wrong bag can change the whole pan.
If the chile already has salt, taste the puree before adding the full teaspoon. Some roasted green chile packs are seasoned before freezing.
Use Roasted Chile Wisely
If you already have roasted green chile, this sauce comes together fast. Our roasted Hatch chile salsa uses a brighter table-salsa path, so keep that batch separate from enchilada sauce.
Frozen roasted chile works well. Thaw it, drain any icy liquid, and add stock only after you see how loose the puree becomes.
Canned green chile works in a pinch, but it usually needs less salt. Taste before adding the full teaspoon.
Match The Filling
A mild filling needs a sauce with more chile character. A salty filling needs a sauce with less salt and more tomatillo lift.
Chicken and cheese taste best when the sauce stays bright. Bean and potato fillings can handle a thicker sauce because they absorb more liquid in the oven.
Taste the sauce with a small bite of filling if you can. Tasting the sauce alone often leads to too much salt, because tortillas and cheese change the final bite.
Salt After Baking
Green sauce can taste perfect in the pot and flat after baking. The oven softens acid, and cheese can pull salt away from the sauce.
When the pan comes out, let it rest 5 minutes before judging. If the top tastes dull, add a pinch of salt, a squeeze of lime, or a spoon of warm sauce at the table.
Do not pour cold salsa over the finished pan to fix it. That changes the dish into a wet salsa plate instead of baked enchiladas.
Rest time matters after baking. A pan that looks loose when it leaves the oven often tightens after 5 to 10 minutes, as tortillas pull in sauce from the edges.
Cheese also changes the read. Monterey Jack melts into the sauce and softens tartness, while cotija or queso fresco stays drier and makes the green sauce taste brighter.
If you plan to serve extra sauce at the table, keep that portion separate before it touches raw filling or the baking dish.
For meal prep, freeze the sauce flat in bags. Flat bags thaw faster and help you reheat only the amount a single pan needs.
Mark the date too.
Keep the thawed sauce warm before assembly so tortillas soften evenly.
Fix And Store
If the sauce tastes too sharp, simmer 5 more minutes and add a spoon of stock. If it tastes dull, add salt first, then a squeeze of lime only after the heat is off.
If the sauce is watery, return it to the pan and simmer until it coats a spoon. Cornstarch is a last resort because it can make the sauce slick.
Refrigerate green enchilada sauce for about 4 days or freeze it in meal-size portions. Reheat gently and correct salt after thawing because cold storage mutes tomatillo acid.
Ingredients
-
1 lb tomatilloshusked and rinsed
-
3 roasted Hatch chilepeeled and chopped
-
1 serranooptional
-
1/2 white onion
-
2 garlic cloves
-
1 cup chicken or vegetable stock
-
1 teaspoon kosher salt
-
1 tablespoon neutral oil
Full Recipe Instructions
Roast tomatillos, chiles,…
Roast tomatillos, chiles, onion, and garlic until blistered and juicy.
Blend the roasted…
Blend the roasted vegetables with stock and salt until smooth.
Warm oil in…
Warm oil in a saucepan, add the puree, and simmer 15 to 20 minutes.
Thin with more…
Thin with more stock if the sauce gets thicker than heavy cream.
Taste, salt again…
Taste, salt again if needed, and use while warm over filled tortillas.